Zero-Cost Luxury: Design Photorealistic Interiors with Z-Image (Free & Local)
Tired of burning monthly credits on Midjourney just to experiment with a few living room layouts? You're not alone. For interior designers, architects, and home decor enthusiasts, the cost of AI iteration can rack up painfully fast.
Enter Z-Image—the privacy-first, open-source powerhouse that runs locally on your machine. No credits, no queues, just raw creative power.
In this guide, we'll dive into how you can use Z-Image to generate stunning, photorealistic interior designs that rival paid tools, all without spending a dime.
Why Z-Image for Interior Design?
While tools like Midjourney or DALL-E 3 are fantastic, they come with strings attached: subscription fees and cloud dependency. Z-Image offers a "Blue Ocean" alternative for professionals:
| Feature | Midjourney v6 | Z-Image (Local) |
|---|---|---|
| Cost | $10-$60/mo | Free |
| Privacy | Public Discord | 100% Private |
| Iteration Speed | Queue-based | Instant (on GPU) |
| Control | Text Prompts | Text + ControlNet |
Pro Tip: Z-Image's local nature means you can feed it sensitive client floor plans without them ever leaving your network.
Step 1: Same-Prompt Benchmark
Let's start with the basics. Can a free model really compete on realism?
We tested Z-Image with a standard luxury interior prompt:
Photorealistic luxury living room, modern minimalist style, neutral color palette with warm accents, 8k resolution.
The Result:
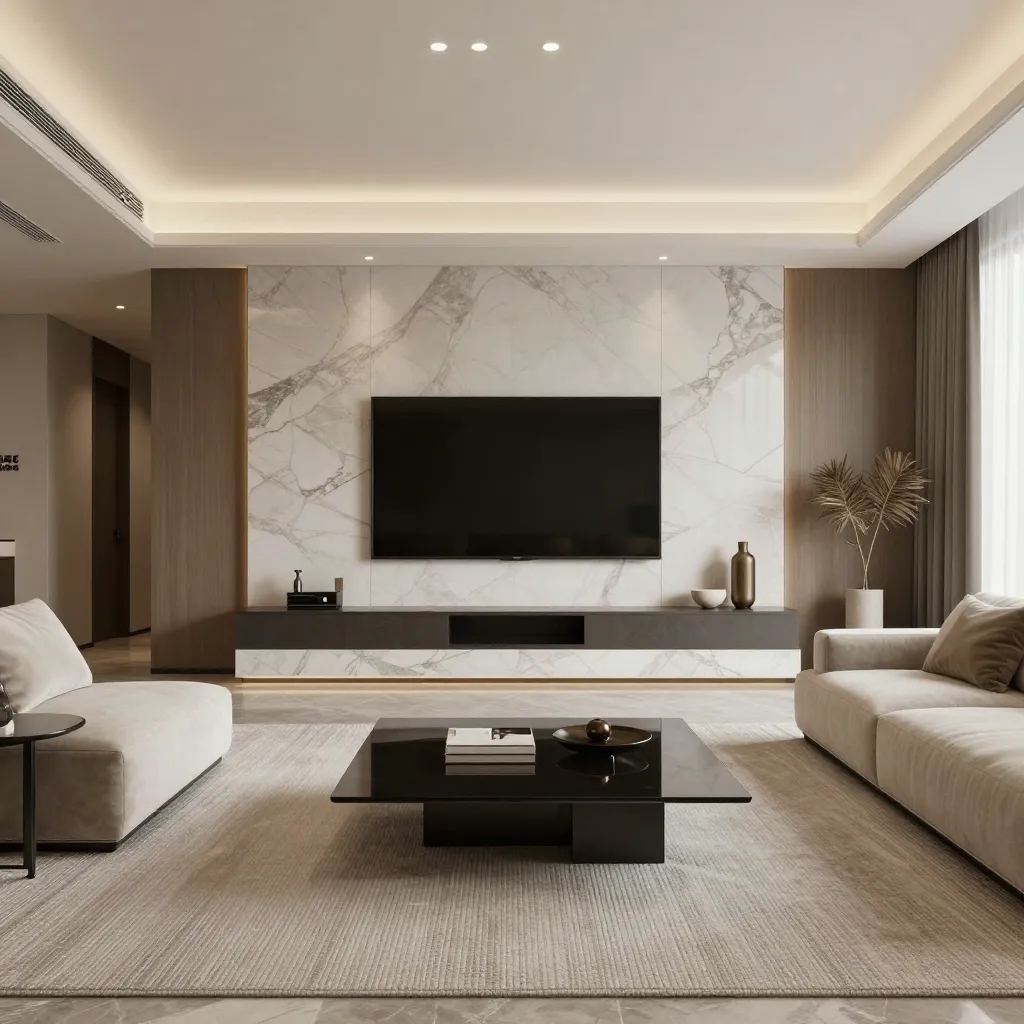
Notice the textures on the sofa and the accurate lighting reflections on the floor. Z-Image excels at spatial coherence—keeping lines straight and perspectives true, which is critical for architectural visualization.
Step 2: mastering Materials (The Kitchen Test)
Interior design is all about materials—marble, wood, glass. An AI that fakes these textures ruins the immersion.
Here is a Z-Image generation for a modern kitchen:
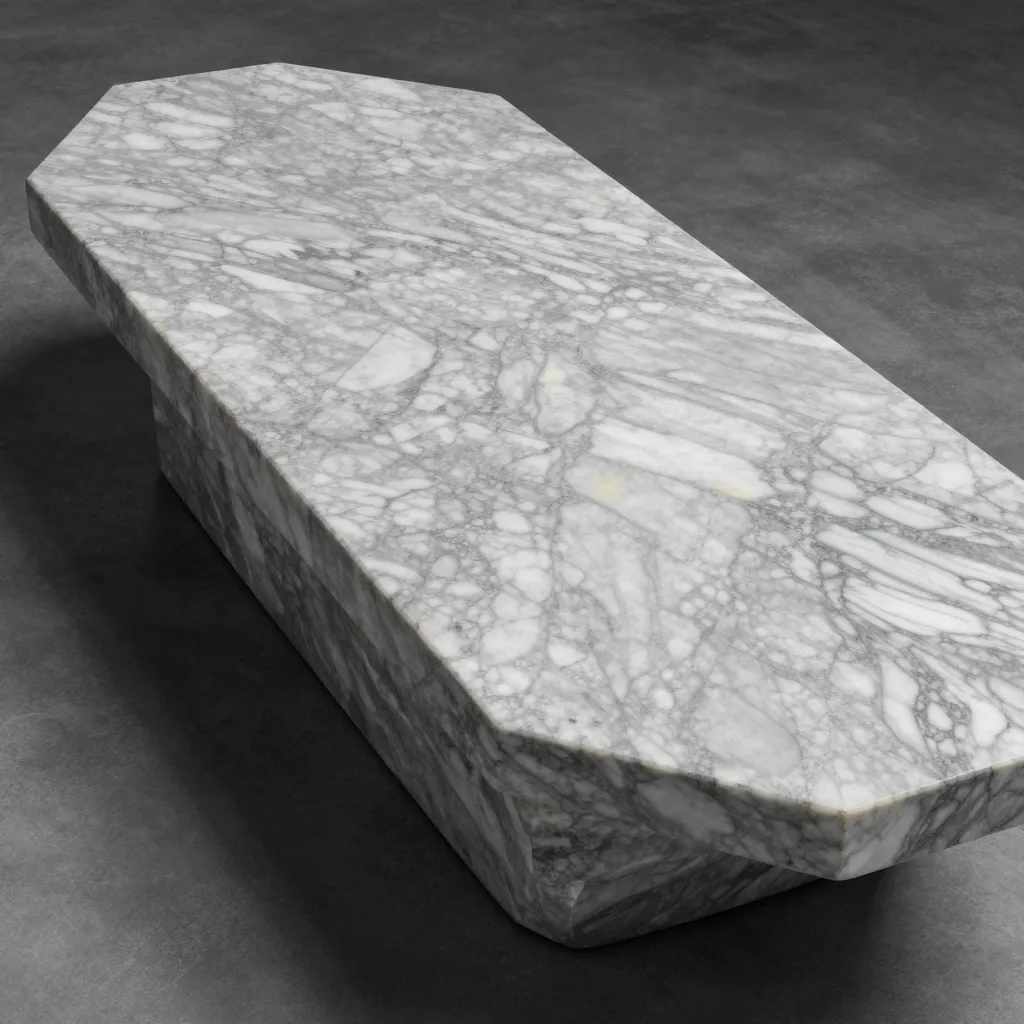
Key Observation: Look at the marble island. Z-Image captures the subsurface scattering of light on stone surfaces remarkably well.
The "Material" Prompt Formula
To get these results, use this prompt structure:
[Room Type] + [Style] + [Key Material Focus] + [Lighting Condition] + [Camera Angle]
Example: Modern kitchen, industrial style, brushed steel and raw timber, morning sunlight, wide angle shot.
Step 3: Mood & Lighting (The Bedroom Sanctuary)
Finally, let's test atmosphere. A bedroom design needs to feel "cozy," not just look like a furniture catalog.
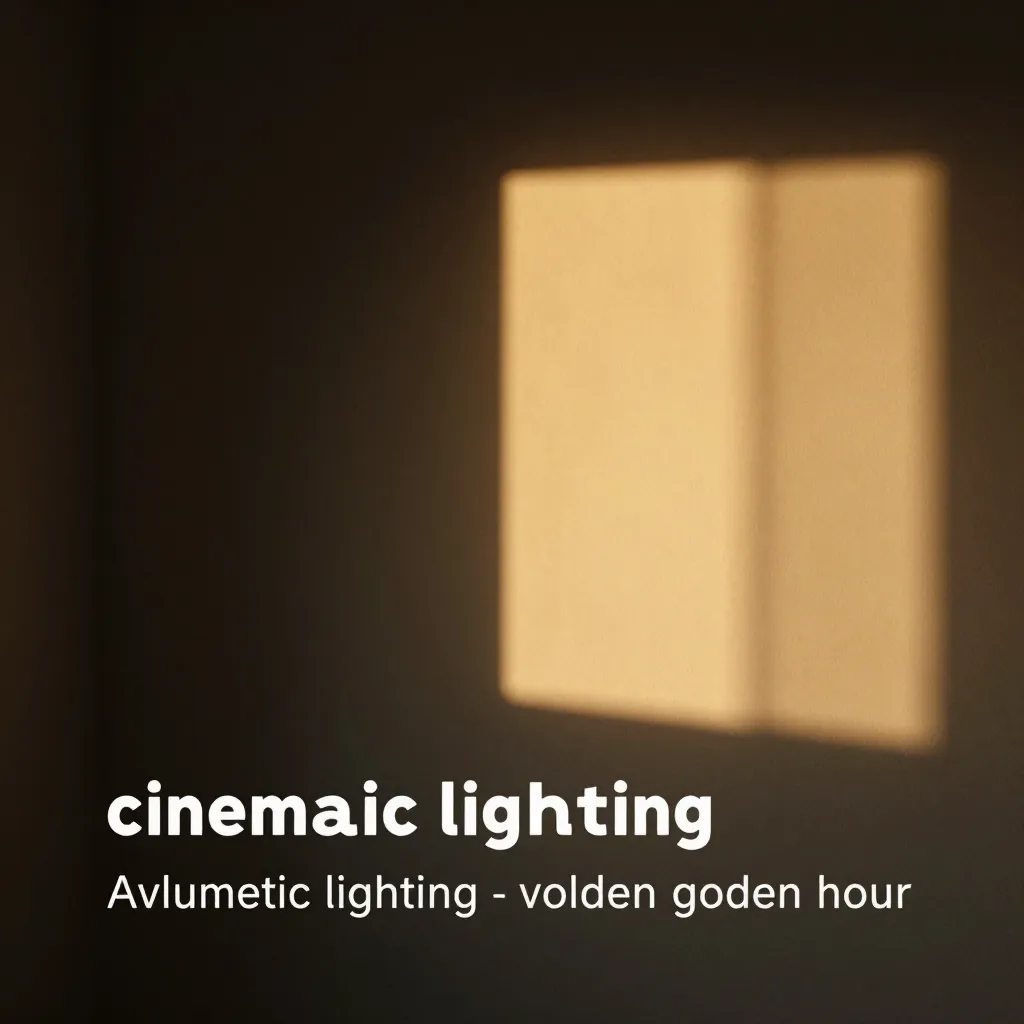
The model handles soft shadows and volumetric lighting efficiently. By adding keywords like "cinematic lighting" or "golden hour," you can shift the mood instantly.
Workflow: From Sketch to Rander in Seconds
- Install Z-Image: Download the latest release from our fast-track repo.
- Load the "Interiors" LoRA (Optional but recommended): While base Z-Image is strong, community LoRAs can push realism further.
- Upscale: Use the built-in upscaler to turn your 1024px generations into 4k print-ready images.
Conclusion
You don't need a massive budget to produce world-class design visualizations. With Z-Image, you unlock a studio-grade workflow that sits right on your desktop.
Ready to transform your workflow? Download Z-Image Now and start designing.