Your Story, Illustrated
Manga production is grueling. A single page takes 8-10 hours.
Z-Image Turbo changes the math. By using "monochrome lineart" and "panel" prompts, you can storyboard an entire chapter in an hour.
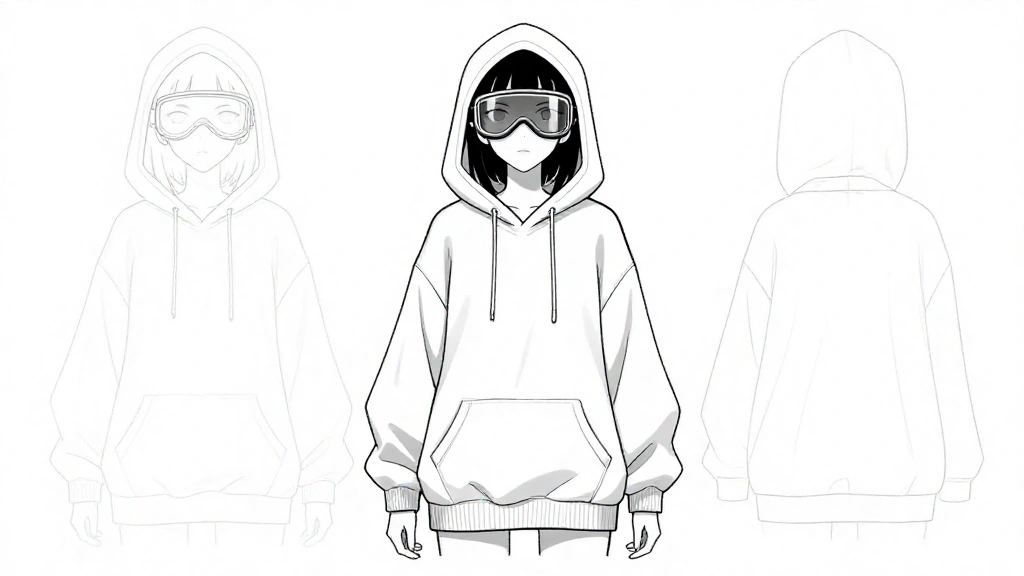
1. The Character Sheet
Consistency is king. Start by defining your character in black and white.
The Prompt:
anime character design sheet of [CHARACTER], [CLOTHING], simple lineart, manga style, monochrome, white background, multiple expressions
Example: The Cyberpunk Protagonist
"anime character design sheet of a female cyberpunk hacker, oversized hoodie, goggles, simple lineart, manga style, monochrome, white background, cool expression"
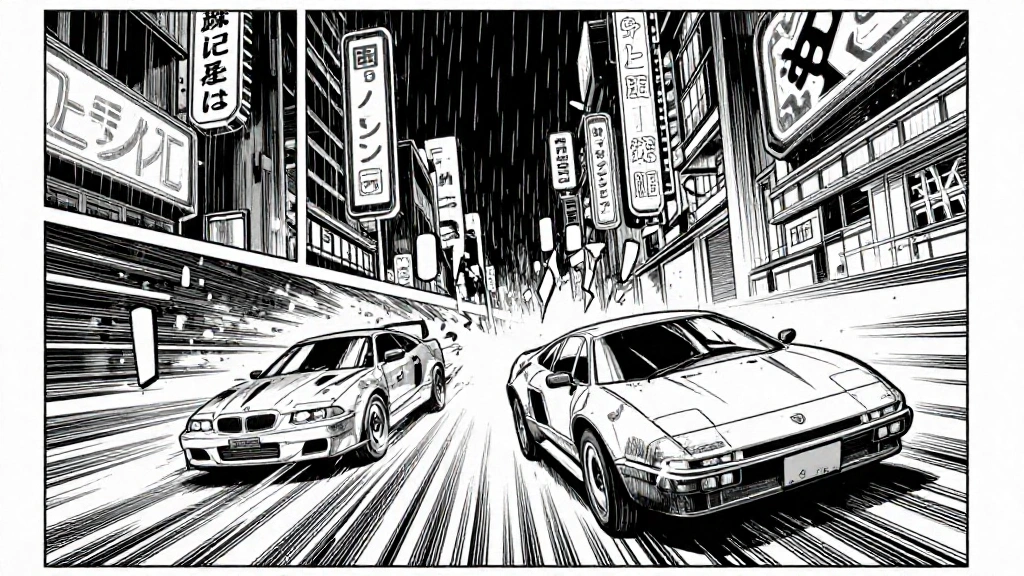
2. Panel Layouts
Z-Image can generate full page layouts, not just single images.
The Prompt:
manga page layout, 5 panels, [SCENE DESCRIPTION], dynamic angles, speed lines, speech bubbles, black and white ink, screentone shading
Example: The Chase Scene
"manga page layout, vertical panels, cyberpunk city chase scene, rain, neon signs (black and white), speed lines, dramatic perspective, high contrast ink"
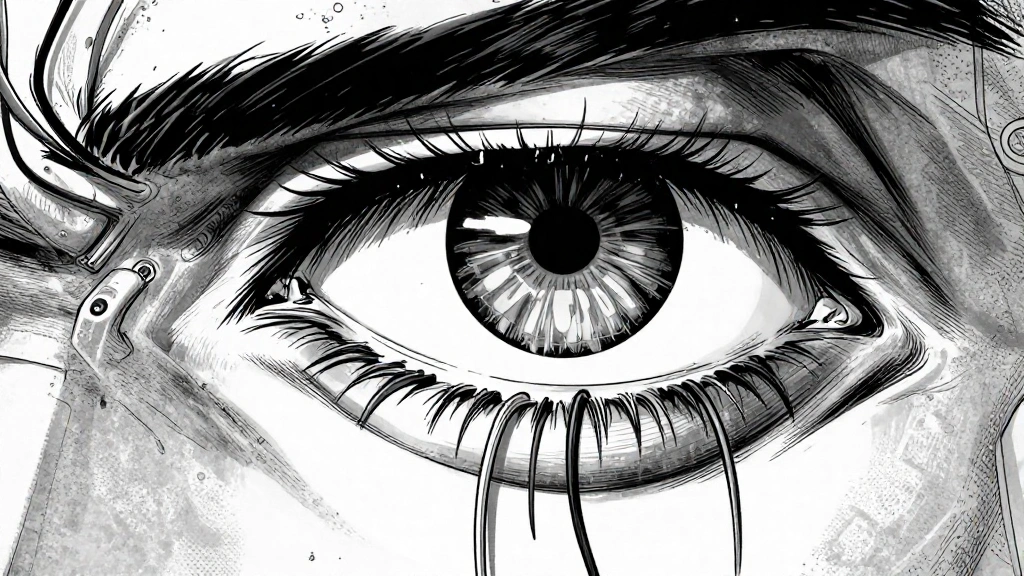
3. The "Impact" Frame
Every chapter needs that one full-page splash art.
The Prompt:
full page manga illustration, [ACTION], extreme close up, highly detailed, screentones, emotional, dramatic lighting
Example:
"full page manga illustration, cybernetic eye opening, extreme close up, highly detailed wires, screentones, shock, dramatic lighting"
Tips for Consistency
- Seed locking: Use the same seed for character features.
- Identity Prompting: Always describe the character with the exact same 3 keywords (e.g., "silver hair, scar on cheek, trenchcoat").
- Inpainting: Verify facial details using Z-Image's inpainting tool for smaller panels.