Let's be real: You saw the Z-Image (Alibaba Tongyi) demos. You saw the perfect English-Chinese text rendering. You saw the 6B parameter efficiency.
But then you opened the GitHub repo, saw a wall of Python code, pip install requirements, and "Linux" commands, and your eyes glazed over.
Stop. You do not need to be a coder to run this.
Z-Image is currently the hottest model on Hugging Face because it claims to rival Flux while running on consumer hardware. Today, I'm going to show you exactly how to get Z-Image-Turbo running on your Windows PC in under 5 minutes using ComfyUI.
No code. No terminal. Just drag, drop, and generate.

The Hard Way vs The Easy Way - Skip the terminal, use ComfyUI
🚨 The Reality Check: Can You Run It?
Before we download a single byte, let's check your hardware. Z-Image is efficient (6B parameters), but it's not magic.
| Component | Minimum (Painful) | Recommended (Smooth) | Ideal (Pro) |
|---|---|---|---|
| GPU (Nvidia) | RTX 3060 (8GB VRAM)* | RTX 3090 / 4070Ti (12GB+ VRAM) | RTX 4090 (24GB VRAM) |
| RAM | 16GB | 32GB | 64GB |
| Storage | 20GB HDD | 20GB SSD | 50GB NVMe SSD |
*Note for 8GB Users: You MUST use the FP8 (quantized) version of the model, or you will crash. I will link this below.
Method 1: The "Drag & Drop" Way (ComfyUI)
This is the method 95% of you should use. It's stable, modular, and easier than standard Stable Diffusion installations.
Step 1: Update ComfyUI (Critical)
Z-Image uses a new architecture (S3-DiT). Old versions of ComfyUI do not know how to read these files.
- Go to your ComfyUI_windows_portable folder.
- Open the
updatefolder. - Double-click
update_comfyui.batand let it run until it closes.

Location of the update_comfyui.bat file in Windows
Step 2: Download the 3 Holy Files
Unlike older models where you just needed one file, Z-Image requires three specific components to work. Download these from the official Hugging Face Repo.
1. The Model (The Brain)
- File:
z_image_turbo_bf16.safetensors(orfp8for low VRAM) - Size: ~12GB
- Where to put it:
ComfyUI\models\diffusion_models\
2. The Text Encoder (The Translator)
- File:
qwen_3_4b.safetensors - Size: ~2-3GB
- Where to put it:
ComfyUI\models\text_encoders\ - Note: Z-Image uses Qwen (an LLM) to understand your prompts, which is why it follows instructions so well.
3. The VAE (The Decoder)
- File:
ae.safetensors(This is the FLUX VAE) - Where to put it:
ComfyUI\models\vae\

Z-Image ComfyUI folder structure - where to place each file
Step 3: The Workflow
Don't try to build the node graph yourself. You will mess up the clip skip or the resolution settings.
- Download the Official Z-Image Workflow JSON (Found on their GitHub or ComfyUI Examples page).
- Open ComfyUI.
- Drag and drop the
.jsonfile (or the.pngworkflow image) directly onto the ComfyUI web interface. - Hit "Queue Prompt".
If you see red nodes: You missed Step 1 (Update) or you are missing a custom node. Click "Manager" -> "Install Missing Custom Nodes".
Method 2: The "Low VRAM" Survival Mode (8GB GPUs)
If you have an RTX 3060/3070 (8GB) and the standard workflow crashed your PC, follow these steps specifically.
Low VRAM Optimization Steps
- Download the FP8 Model: Instead of the
bf16version mentioned above, look forz_image_turbo_fp8.safetensors. This cuts VRAM usage in half. - Enable Tiling: In your KSampler or VAE Decode node, looks for an option called
tile_size. Set it to512.- Why? This decodes the image in small squares instead of one big chunk, saving massive amounts of memory.
- Stick to 1024x1024: Do not try to generate 2K images natively. Generate at 1024px and use an Upscaler later.
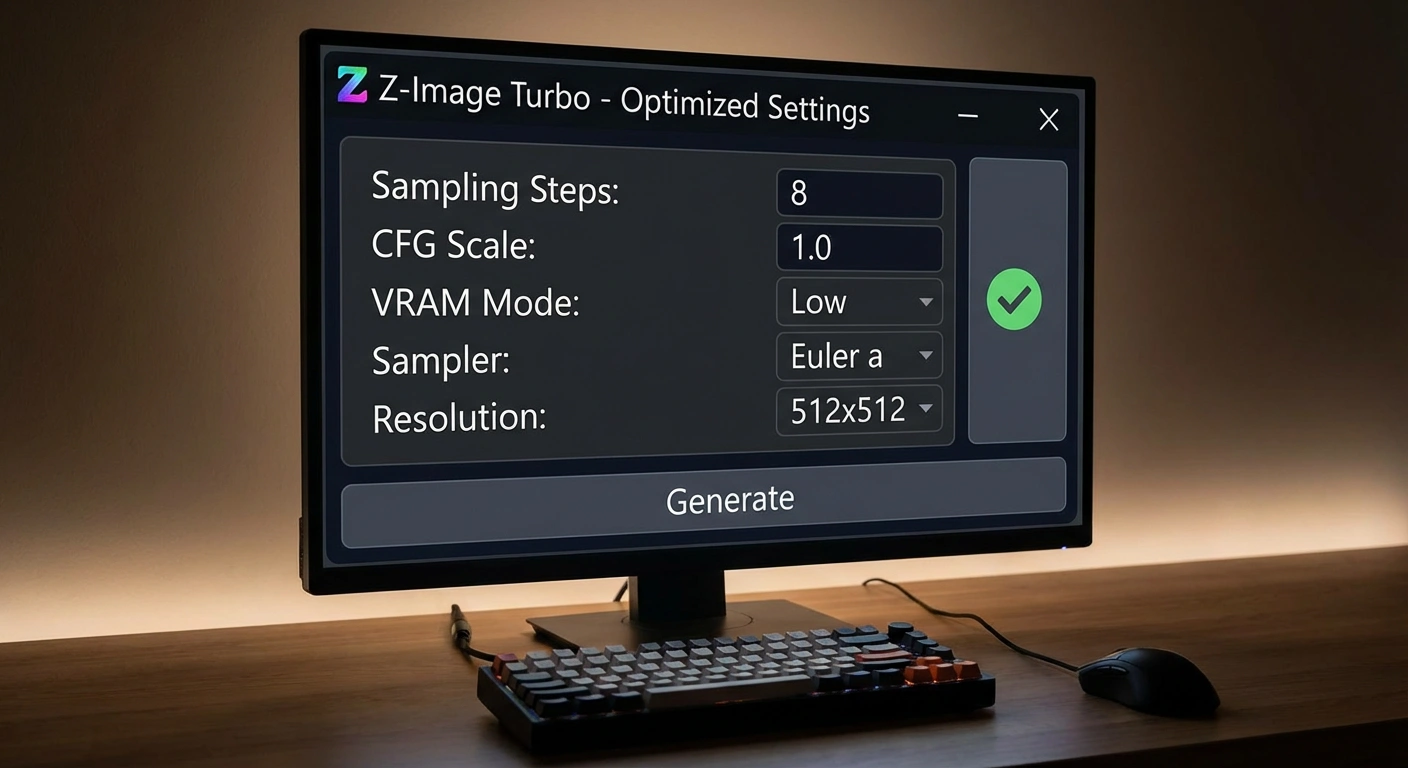
Z-Image Turbo optimized settings - 8 steps, CFG 1.0 for low VRAM
Installation Checklist
Follow this checklist to ensure everything is set up correctly:
- ✅ ComfyUI updated to latest version
- ✅ Downloaded
z_image_turbo_bf16.safetensors(orfp8for 8GB) - ✅ Downloaded
qwen_3_4b.safetensors - ✅ Downloaded
ae.safetensors(VAE) - ✅ Files placed in correct folders
- ✅ Official workflow JSON downloaded
- ✅ Custom nodes installed (if needed)
- ✅ GPU drivers up to date
Troubleshooting: Why is it failing?
Error: "RuntimeError: CUDA out of memory"
Fix: You are trying to run the bf16 model on a card with less than 16GB VRAM. Switch to the FP8 model. Or, you forgot to close Chrome (yes, seriously, Chrome eats VRAM).
Error: "AttributeError: 'NoneType' object has no attribute..."
Fix: Your ComfyUI is outdated. The Z-Image nodes were only added a few days ago. Update immediately.
Issue: "The text is gibberish"
Fix: Z-Image requires a specific prompting style. Unlike Midjourney, it needs clear instructions.
- Bad: "A sign that says hello."
- Good: "text 'Hello' written on a wooden sign."
Common Issues Table
| Problem | Likely Cause | Solution |
|---|---|---|
| Red nodes in workflow | ComfyUI not updated | Run update_comfyui.bat |
| CUDA OOM error | Wrong model version | Use FP8 for 8GB cards |
| Black/empty images | Incorrect workflow | Re-download official JSON |
| Gibberish text | Wrong prompting | Use quotes around text: "TEXT" |
| Slow generation | High resolution | Start with 1024x1024 |
Performance Expectations
Here's what you can expect on different hardware:
| GPU | VRAM | Model Version | Resolution | Generation Time |
|---|---|---|---|---|
| RTX 3060 | 8GB | FP8 | 1024x1024 | ~15-20 seconds |
| RTX 3090 | 24GB | BF16 | 1024x1024 | ~3-5 seconds |
| RTX 4070 Ti | 12GB | BF16 | 1024x1024 | ~5-8 seconds |
| RTX 4090 | 24GB | BF16 | 2048x2048 | ~8-12 seconds |
Advanced Tips
Speeding Up Generation
- Use SSD: Move your ComfyUI folder to an SSD if it's currently on HDD
- Close Background Apps: Every MB of VRAM counts
- Update GPU Drivers: Newer drivers often have performance improvements
- Use Quantized Models: FP8 is almost as good as BF16 but 2x faster
Batch Generation
To generate multiple images:
- In the workflow, look for the
Empty Latent Imagenode - Change
batch_sizefrom 1 to 4 (or your desired number) - Queue prompt once, get multiple variations
Upscaling
For production-quality images:
- Generate at 1024x1024
- Use an upscaler node (Ultimate SD Upscale)
- Final output: 2048x2048 or 4096x4096
What's Next?
Once you have Z-Image running, you'll want to:
- Learn Prompting: Z-Image has specific syntax for best results
- Explore LoRAs: Fine-tune for specific styles
- Try Image-to-Image: Use reference images for consistency
- Experiment with Workflows: ComfyUI is infinitely customizable
Conclusion: Is it Worth the Install?
If you are a product photographer, a drop-shipper, or a designer, Yes. The ability to render "Sale 50% Off" in perfect English and Chinese on the same image is a feature no other open-source model has right now.
For 5 minutes of setup time, you get a tool that usually costs $30/month in SaaS fees.
Next Step: Once you have this installed, you'll realize standard prompting doesn't quite work the same. Stay tuned for my next guide on "The Z-Image Prompting Framework."
Quick Start Command
Once everything is installed, try this prompt to verify it's working:
"A modern minimalist logo design. Text 'HELLO' in bold sans-serif font on a clean white background. Simple and professional."
If it generates "HELLO" correctly, congratulations! You've successfully installed Z-Image.